Indoor Olive Tree Care & Faux Olive Tree Guide Everything From Leaves and Fertilizer to Pottery Barn Picks
“Your olive tree isn’t being ‘dramatic’—it’s communicating.”
Indoor Olive Tree Care & Faux Olive Tree Guide is where I help you read the signs—leaf yellowing, leaf drop, drooping branches, and that quiet, anxious feeling when your home doesn’t look as green as you imagined.
I’ve learned (the patient way) that the best indoor olive tree care isn’t about “more attention”—it’s about the right attention: bright, stable light; a soak-and-dry water rhythm; and drainage that keeps roots breathing. When those three align, your olive tree indoor settles in like it finally found its corner.
And because not everyone wants the stress of live maintenance, I also share my favorite approach to fake olive tree indoor styling—how to choose the right size, pot look, and lighting angle so it feels premium (not dusty, not obvious, not “cheap décor”).
Here’s what you’ll be able to do after this guide
Diagnose the real cause behind olive tree leaves dropping (light vs. water vs. drainage), build a clean fertilizer routine using a simple seasonal timing mindset, and confidently pick (or style) a faux olive tree—including that Pottery Barn Faux Potted Olive Tree vibe—without losing the realistic look.
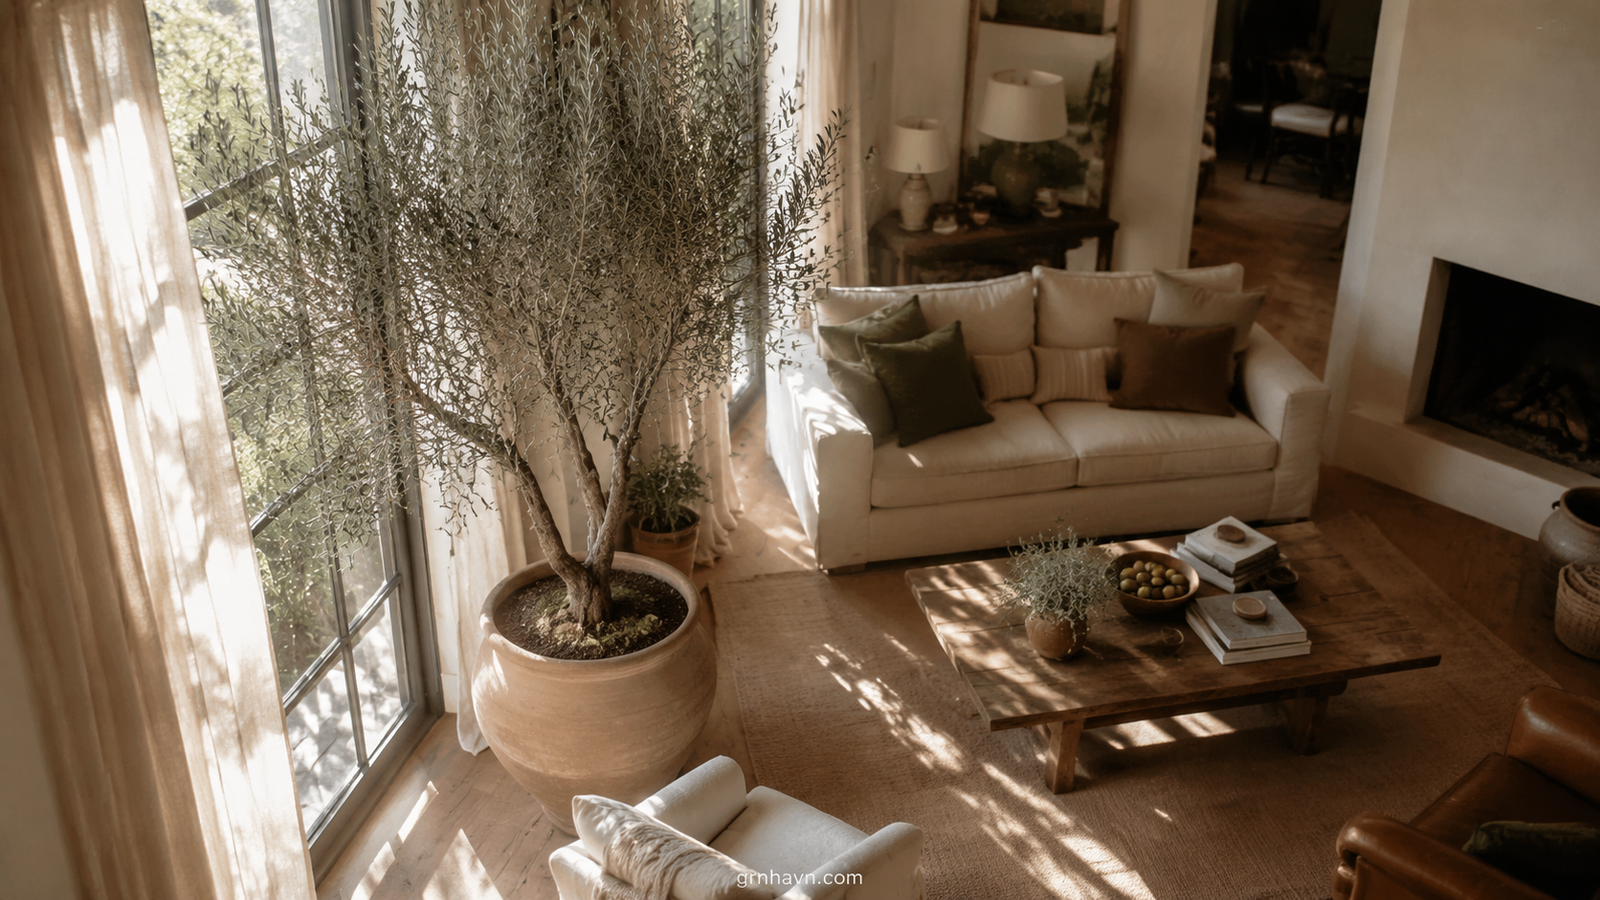
Why Your Indoor Olive Tree Drops Leaves — And How to Fix It
If you’ve got an indoor olive tree and the leaves start yellowing or dropping, I want you to pause before you panic-water or move it a dozen times in one week. Leaf loss indoors is often the tree’s way of saying: “I’m not getting what I need right now.”
The biggest challenge of keeping olive tree indoor is light and draft. When light is low, the tree slows its energy use; when water is excessive, roots struggle to breathe. Together, they create that specific indoor combo: soft leaves, slower recovery, and then drop.
“When the routine matches the plant, the leaves stop asking for help.”
Cause → Low light and overwatering (often disguised as “I’m just being careful.”)
Solution → Place your tree next to the brightest window (rotate weekly), make sure your pot has real
drainage holes, and water only when the soil is completely dry.
Quick truth: if you don’t fix light and drainage first, fertilizer becomes a distraction. And if you’re dealing with fungus/mold, that’s usually excess moisture—so the best “treatment” is drying out the root zone and improving airflow.
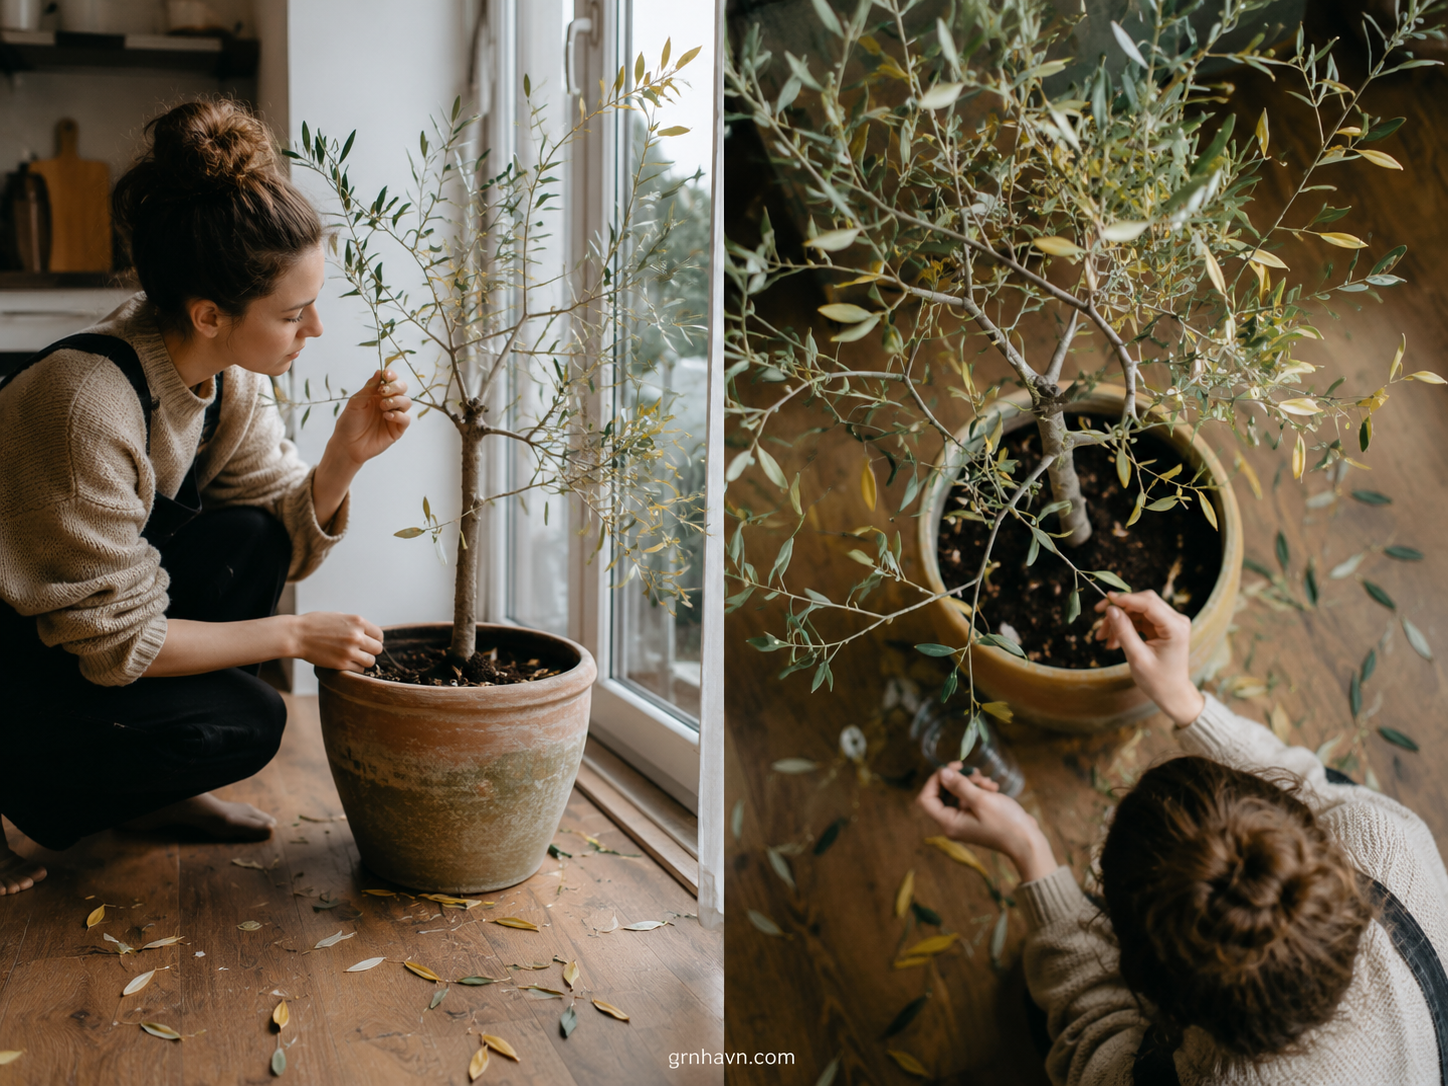
Olive Tree Care: The 3 Rules That Keep It Alive (Light, Water, Drainage)
Think of Olive Tree Care like a three-part promise. Not a complicated schedule—just a stable rhythm. Rule one is adequate light. Rule two is proper water (only when dry). Rule three is good drainage so the roots can breathe.
Here’s the mistake I see most: watering small amounts “on schedule.” That teaches the roots to stay wet, oxygen disappears, and root rot starts quietly. The fix is the “soak & dry” method—water thoroughly, let it drain fully, then wait until the soil is dry before watering again.
“Your olive tree doesn’t need more water—it needs better timing.”
What I recommend after repotting: treat it gently. Repotting can cause transplant shock; for a bit, keep light strong but avoid sudden exposure to extreme sun. If leaf color changes, don’t immediately blame “fertilizer.” Often it’s watering or light.
Fertilizer matters—but only after the basics are stable. Pruning is optional (and should be purposeful), and stress shows up as slower growth, weak branches, and leaves dropping after environmental changes. Keep the routine consistent, and you’ll usually see the plant re-stabilize.
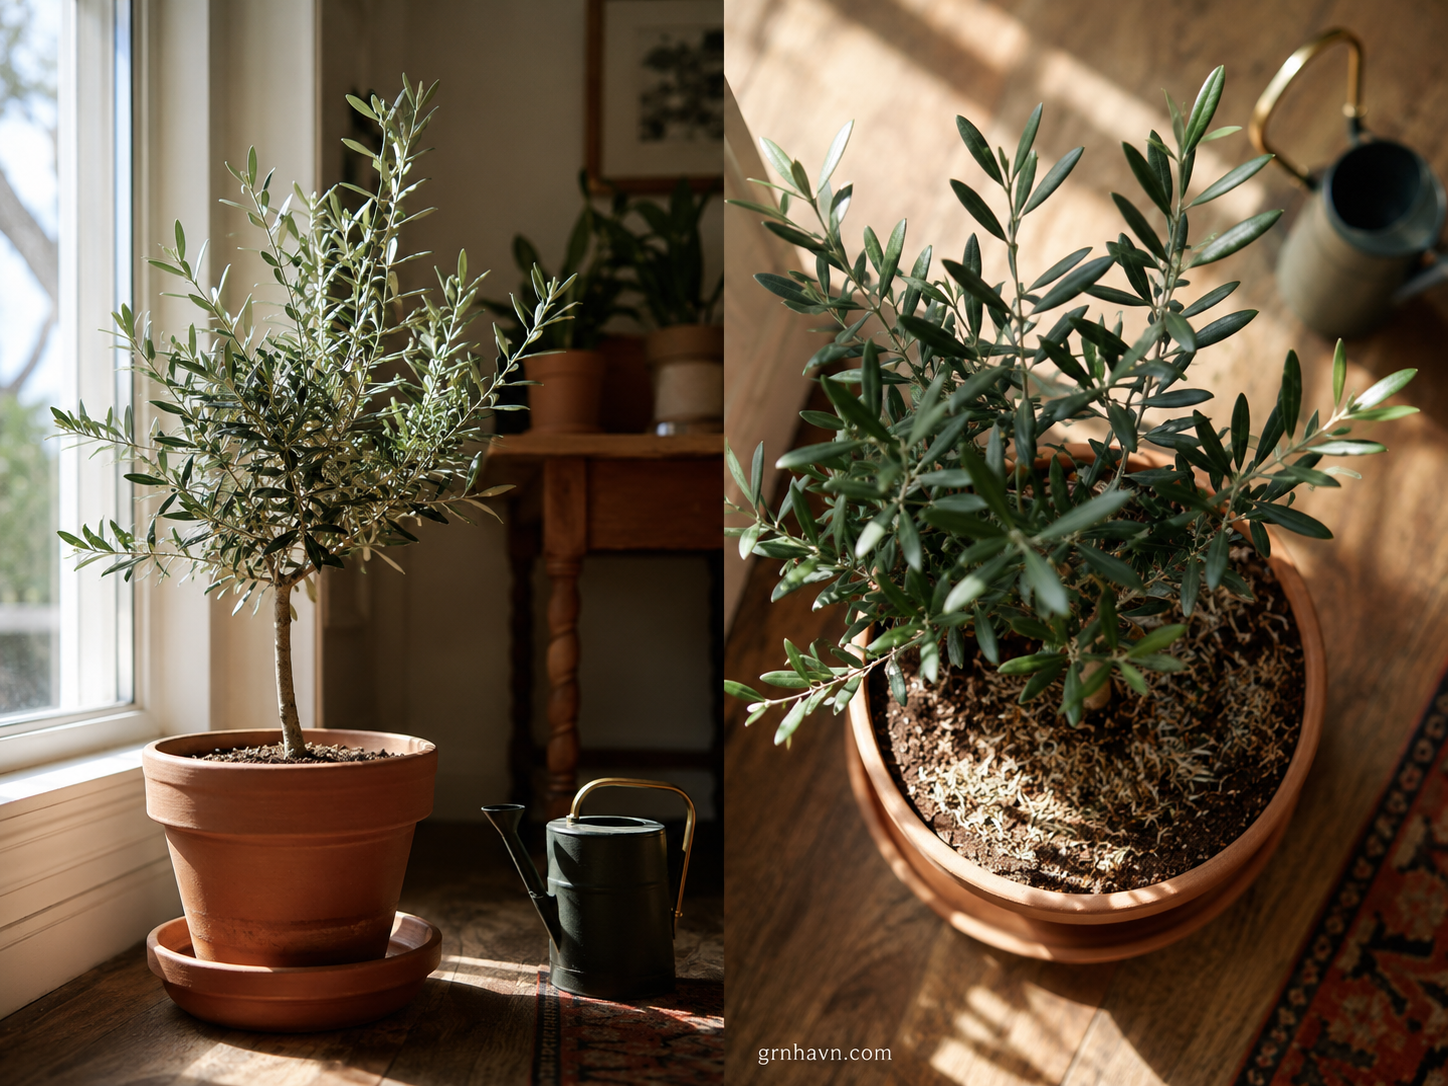
How to Keep an Indoor Olive Tree Healthy All Year (Placement + Seasonal Care)
An indoor olive tree doesn’t just need “light”—it needs the right place. The brightest spot + a stable environment is what keeps leaves confident. I like to think of it as the difference between walking into a warm room and constantly being moved through doorways.
Place it near the brightest window you have, and rotate it so it doesn’t lean or lose leaves on one side. In Europe and America, seasonal light changes are real—so your “hours of light” are often less about the calendar and more about what your windows can provide.
“Stable placement is the quiet luxury your olive tree deserves.”
US timing logic: use USDA hardiness zones for outdoor planning, but indoors focus on frost-date logic only if you move the pot outdoors temporarily. When night temps become reliably mild, you can “harden off” slowly—bring it back before cold snaps.
Europe logic: watch temperature drops and drafts, especially near windows. Cold air can harm the tree even if your daytime feels warm. If your tree becomes leafless on one side, it’s almost always light imbalance.
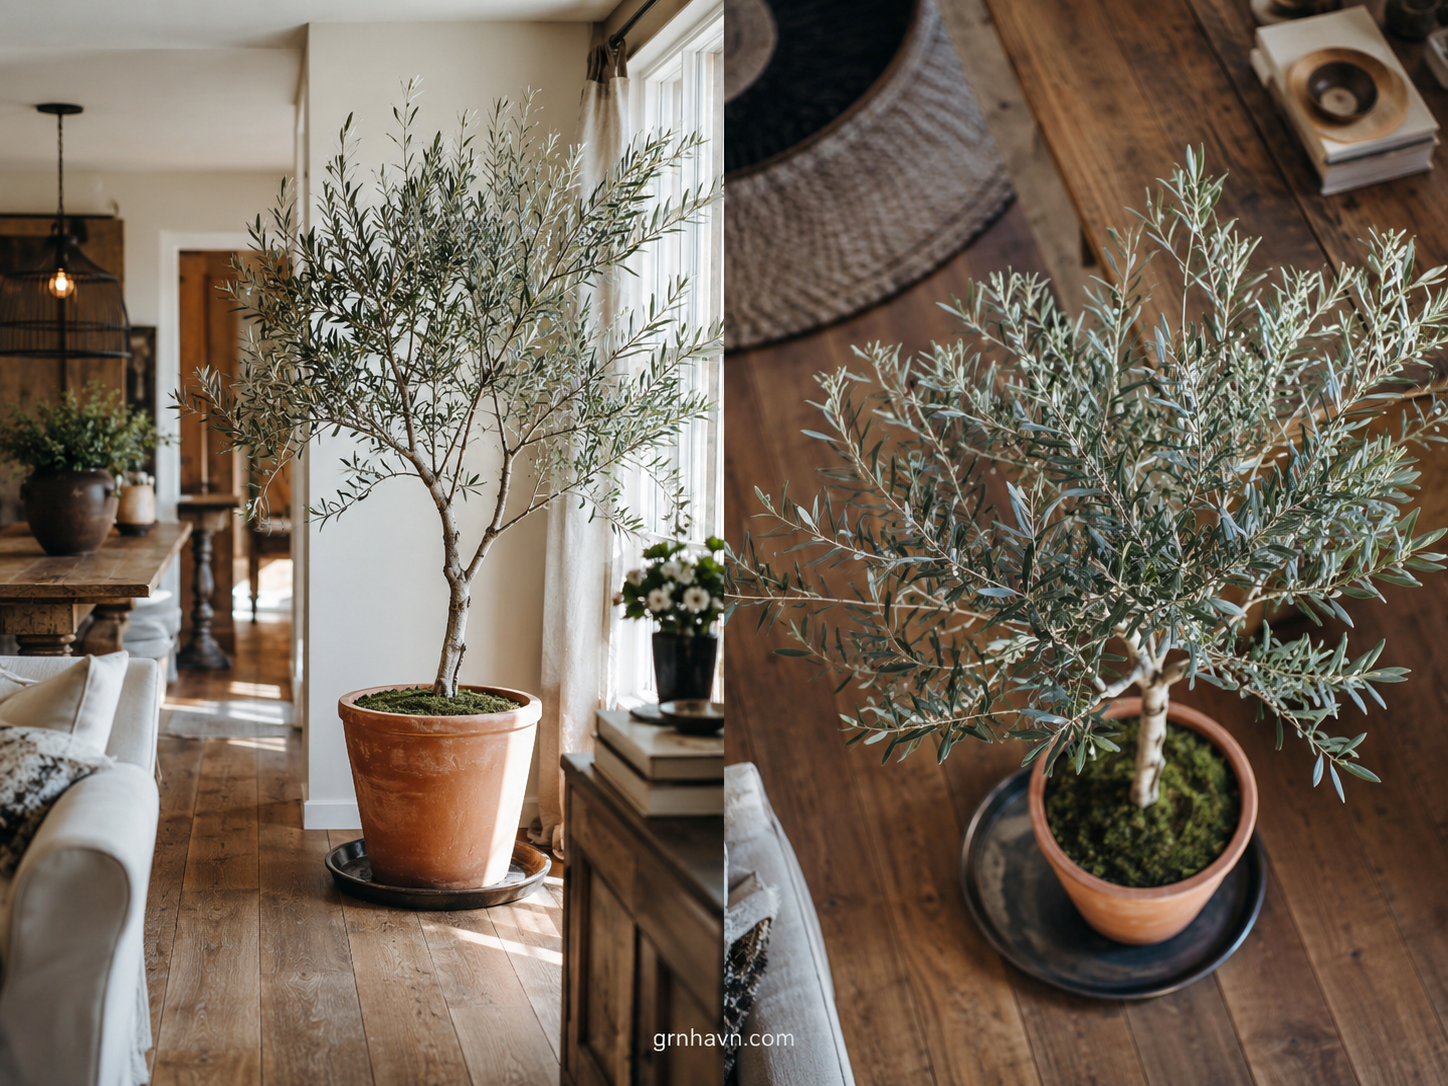
Dwarf Olive Tree Indoors: Why It Grows Slowly + How to Fix It
A dwarf olive tree often *looks* like it’s “doing nothing”—but in many cases, it’s simply waiting for the conditions that trigger growth. The most common reason growth slows indoors is low light combined with root stress from watering inconsistency.
“Slow growth isn’t failure. It’s your tree choosing survival over speed.”
Here’s my favorite fix: balance small pot + proper drainage + big light. If the pot stays too wet, even “fertilizing” won’t rescue it. Water when the soil is dry (not “when it looks dry”), and make sure water drains fully.
If leaves turn yellow, check water first. If growth stalls after repotting, assume transplant shock and give it a stable routine. For fertilizer: use a gentle start—burn risk is higher in smaller containers because salts can accumulate faster.
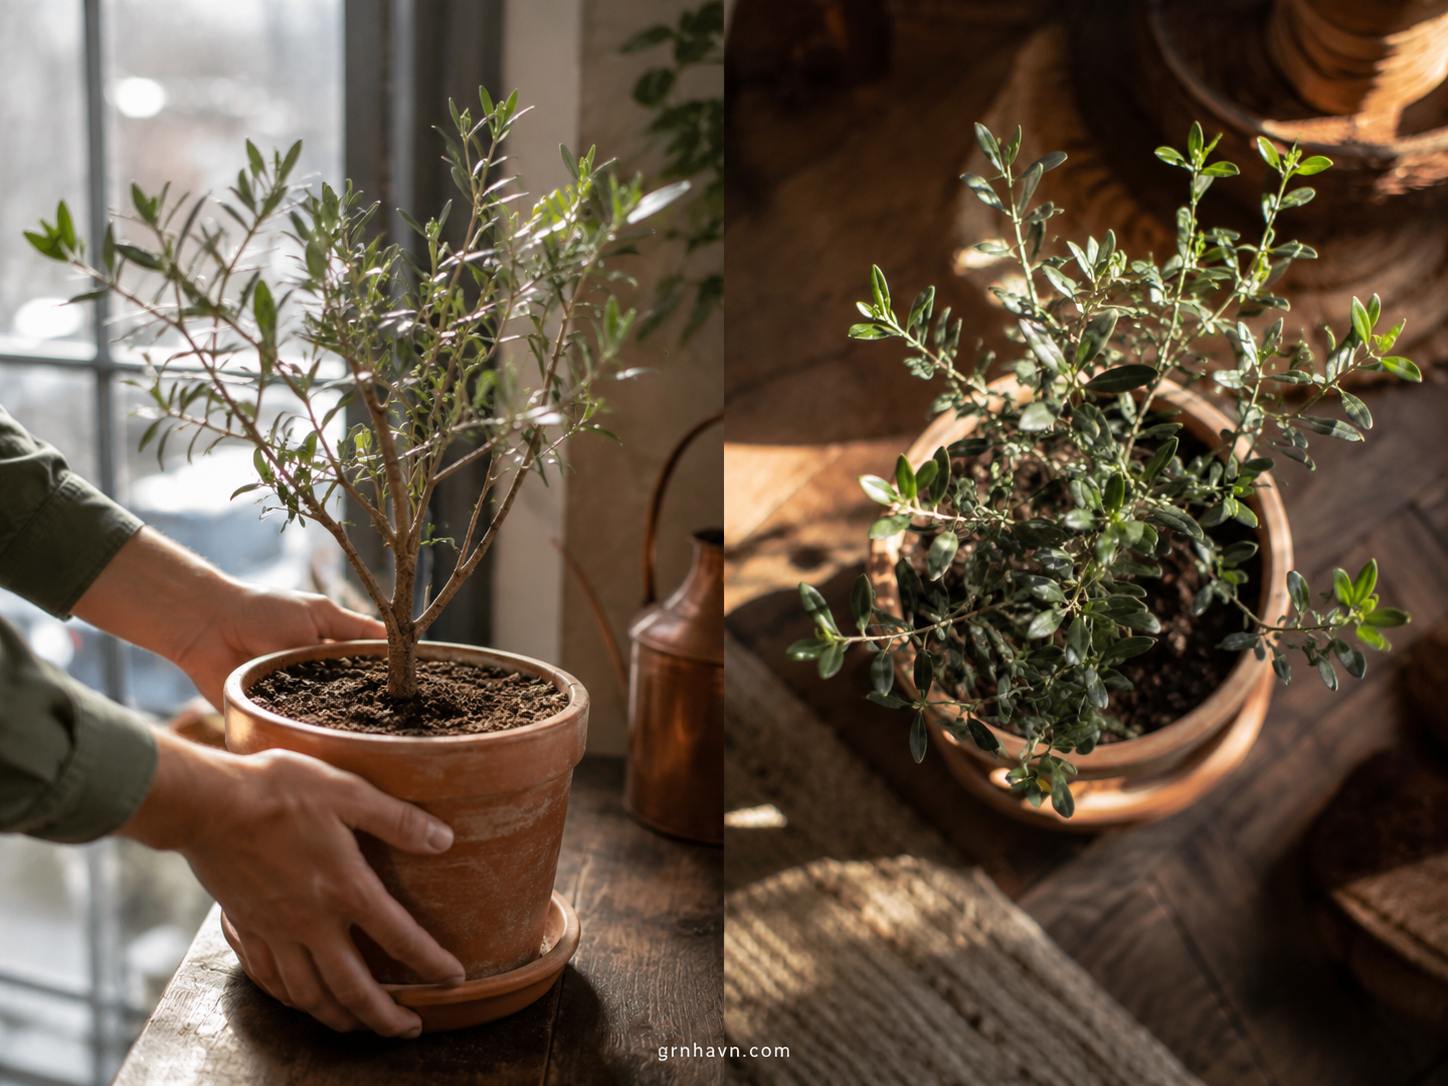
Small Olive Tree Dropping Leaves? New Environment Shock Explained
The first weeks after buying a small olive tree can feel emotional—because “cute and healthy in the store” sometimes becomes “dropping leaves” at home. This is usually new environment shock.
“The store had different light. Your living room is the new truth.”
The solution is surprisingly gentle: keep it in a fixed place for 7–14 days, water less than you think, and increase light slowly. Sudden changes—especially drafts—push stress faster than you can “fix.”
If it doesn’t produce new buds, it’s often because the tree is still stabilizing its root and leaf energy. Also check pot size: too large can hold excess moisture longer. Too small can dry too fast. Aim for a pot that fits the plant, not a pot that “grows with it” immediately.
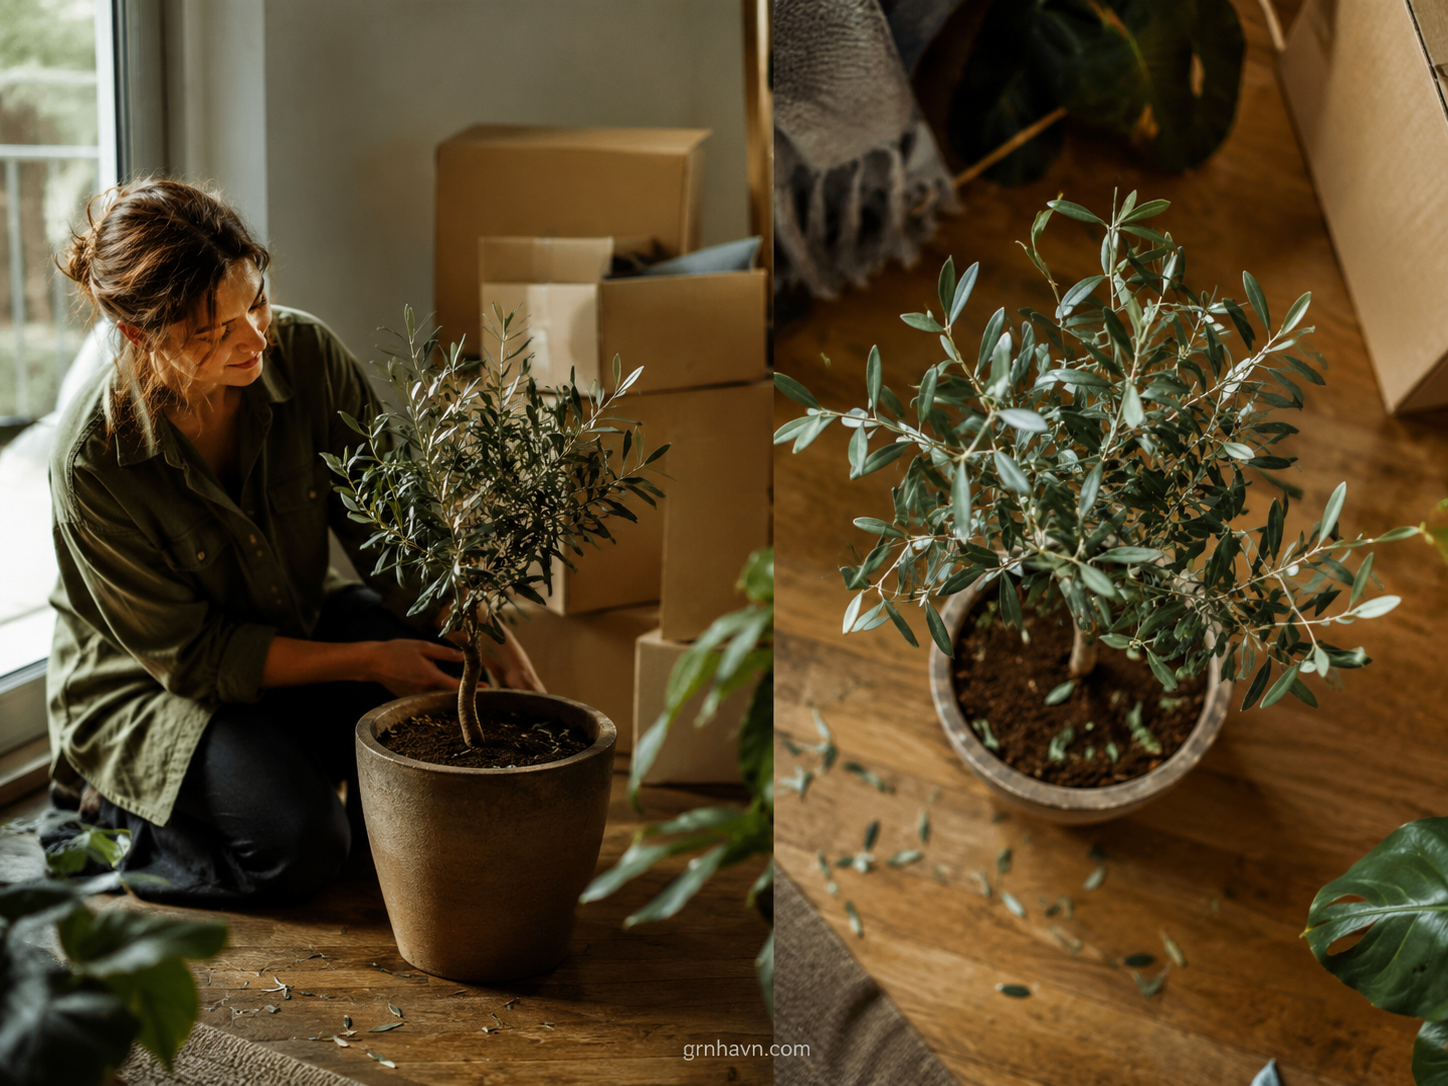
Potted Olive Tree: How to Fix Drainage and Stop Root Rot for Good
With a potted olive tree, the biggest villain is drainage. If water sits, roots suffocate. If roots suffocate, you start seeing yellowing leaves, weakness, and that uncomfortable “something is wrong” feeling.
“Drainage isn’t optional. It’s the oxygen system for your roots.”
Make sure your pot has drainage holes and never let water accumulate in the saucer. For soil, use a mix designed to drain well (think airy, not dense). If you see salt buildup (often from inconsistent watering or fertilizer), flush gently and return to a strict dry-then-water routine.
If roots are rotting, the recovery plan is typically: stop excess moisture, improve drainage, and cut away only if rot is confirmed. And timing matters: water when it’s dry, not when you “notice dryness on the surface.”

Olive Tree Fertilizer Guide: When to Feed, NPK Explained & How to Avoid Burn
I’ll be honest: fertilizer is where people accidentally “help” their olive tree into trouble. The safest rule is to feed mainly during the growth season. If you overdo it, you can cause salt buildup and leaf burn—especially in small pots.
“More nutrients doesn’t mean more health. It means more risk.”
My go-to method: start with a low dose, then water normally afterward. If you want a low-stress trial, try half-dose first. If your olive tree fertilizer timing is off, you’ll see leaf problems before you see new growth.
How to understand NPK? Think of it as a simple nutrient balance: N supports leafy growth, P supports roots/energy, and K supports overall resilience. If your tree is weak, don’t jump to heavy feeding—fix light and drainage first.
US/Europe seasonal logic: growth indoors still follows “light availability.” If your winter light drops, your fertilizer needs to drop too. In Fahrenheit/ Celsius terms: when rooms stay cooler and light is weaker (often around 55–65°F / 13–18°C), slow feeding. In warmer, brighter months, you can feed lightly.
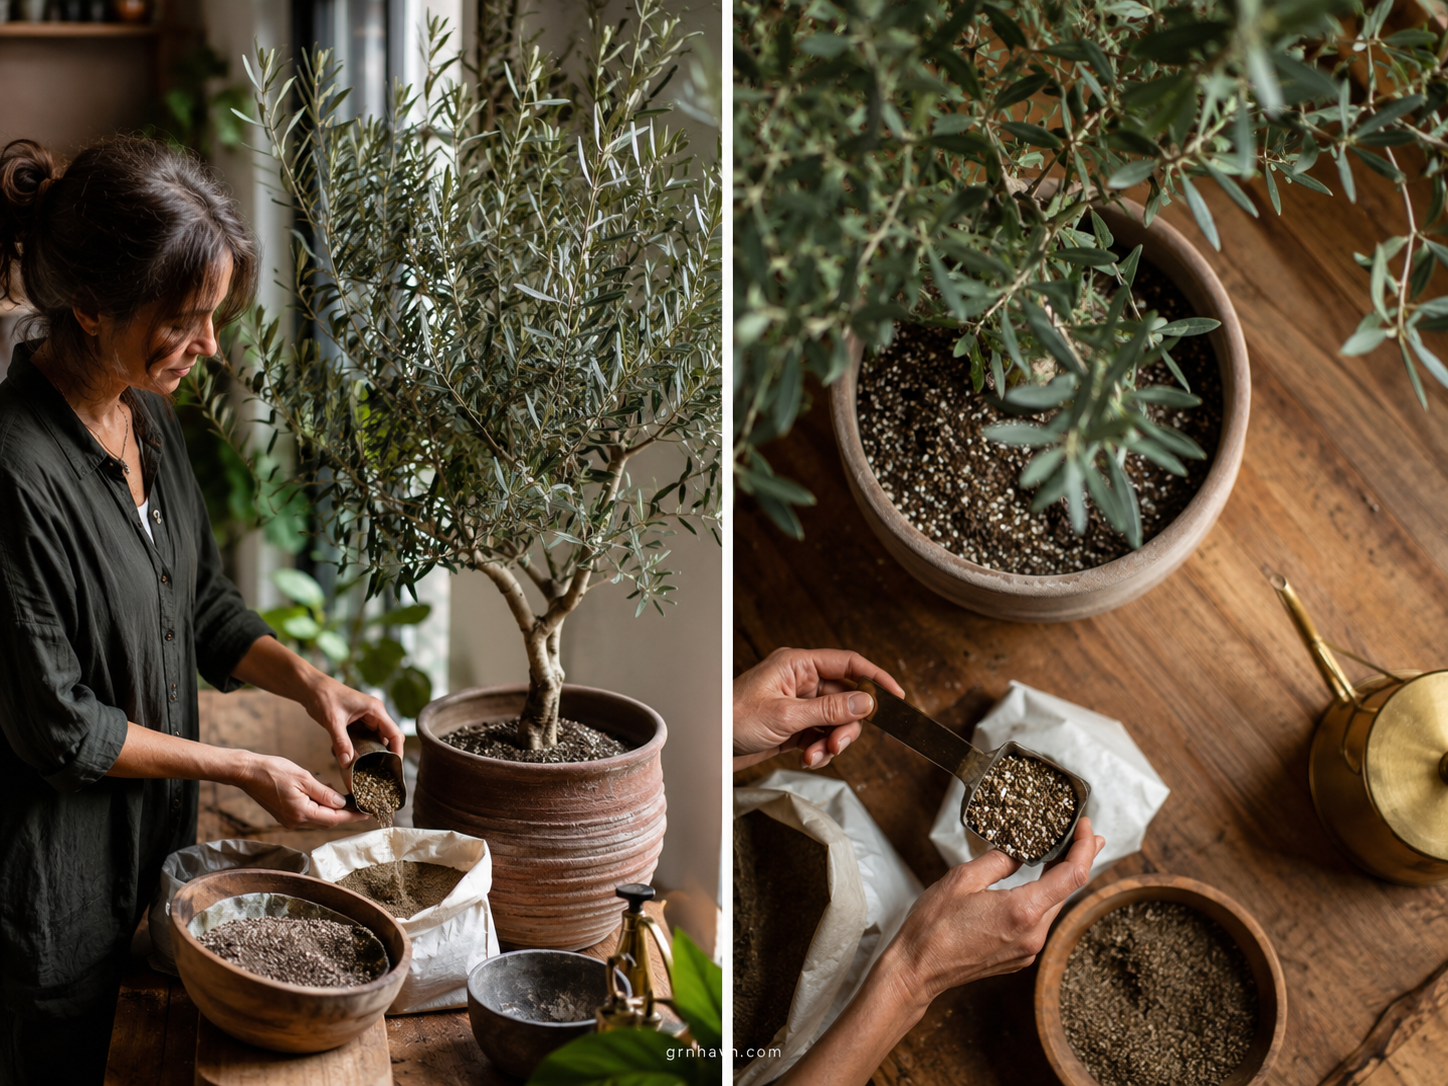
Buying an Olive Tree Plant? What to Check & First Week Care Guide
Before you bring an olive tree plant home, check it like you’re choosing a long-term friend. Look for leaves that are alive, stems that feel strong, and a pot that doesn’t smell overly wet. That “too good to be true” lushness sometimes comes from temporary watering tricks.
“Pick the tree that looks steady—not the one that’s just ‘pretty today’.”
In your first week, acclimate gently. Keep lighting consistent, avoid sudden drafts, and follow a dry-then-water routine. If you see symptoms of poor drainage early (mushy soil, fungus smell, weak leaves), adjust immediately.
If olive tree leaves are turning black, it can be from water stress or other stressors—so don’t assume one cause. Start by correcting water management first. New growth depends on stability.
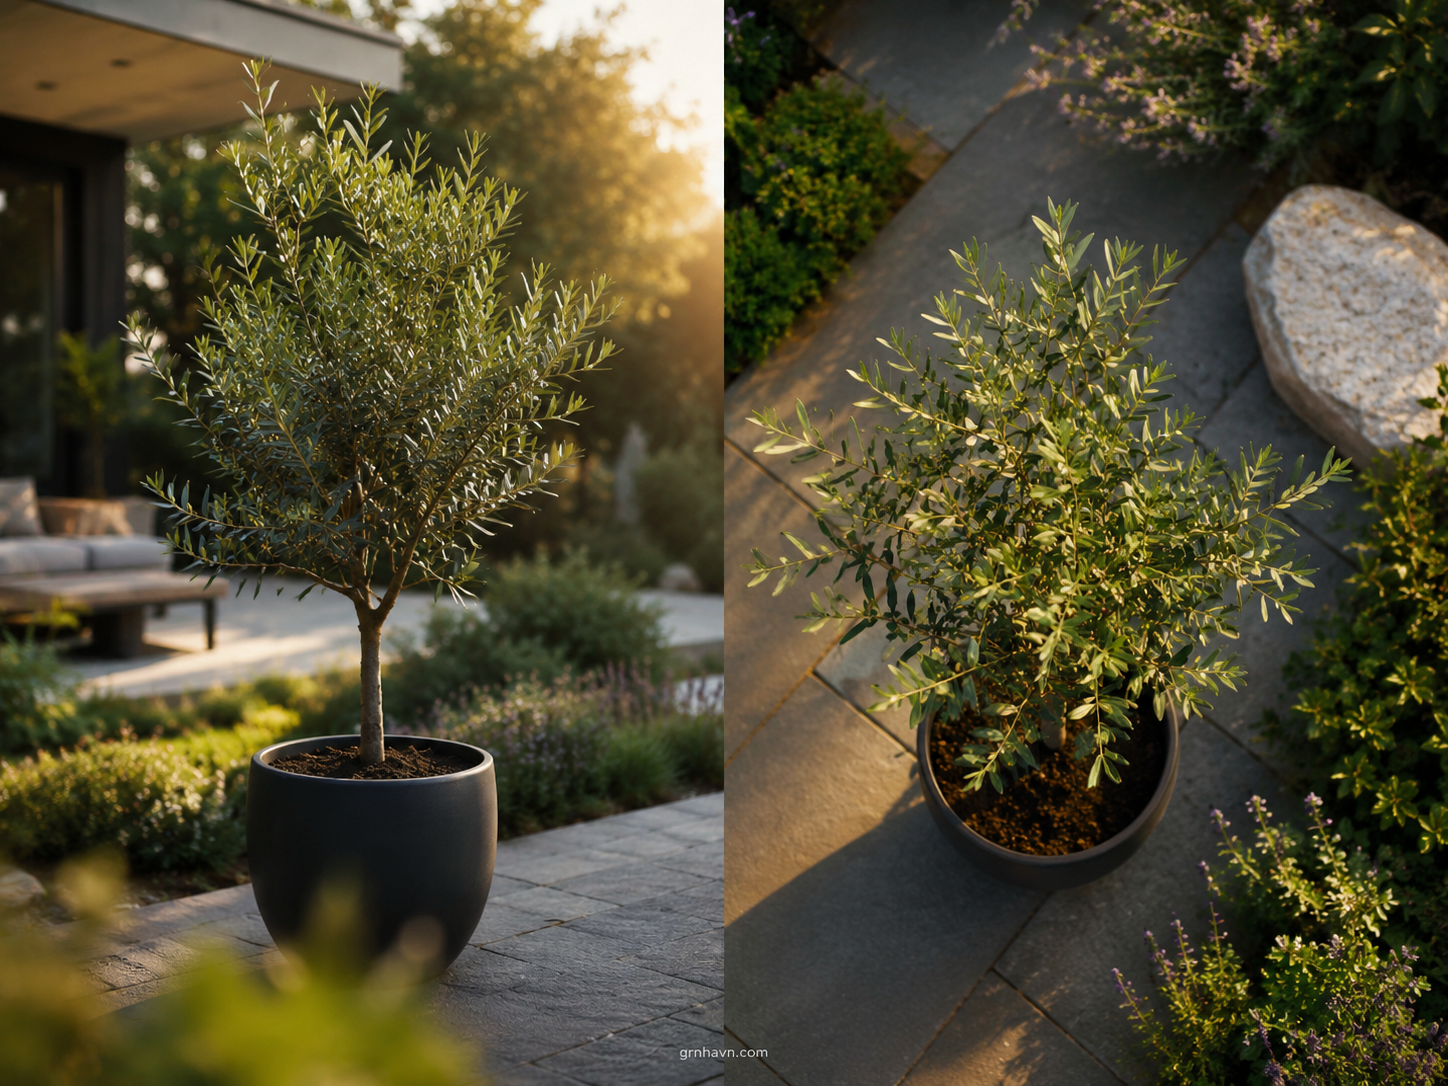
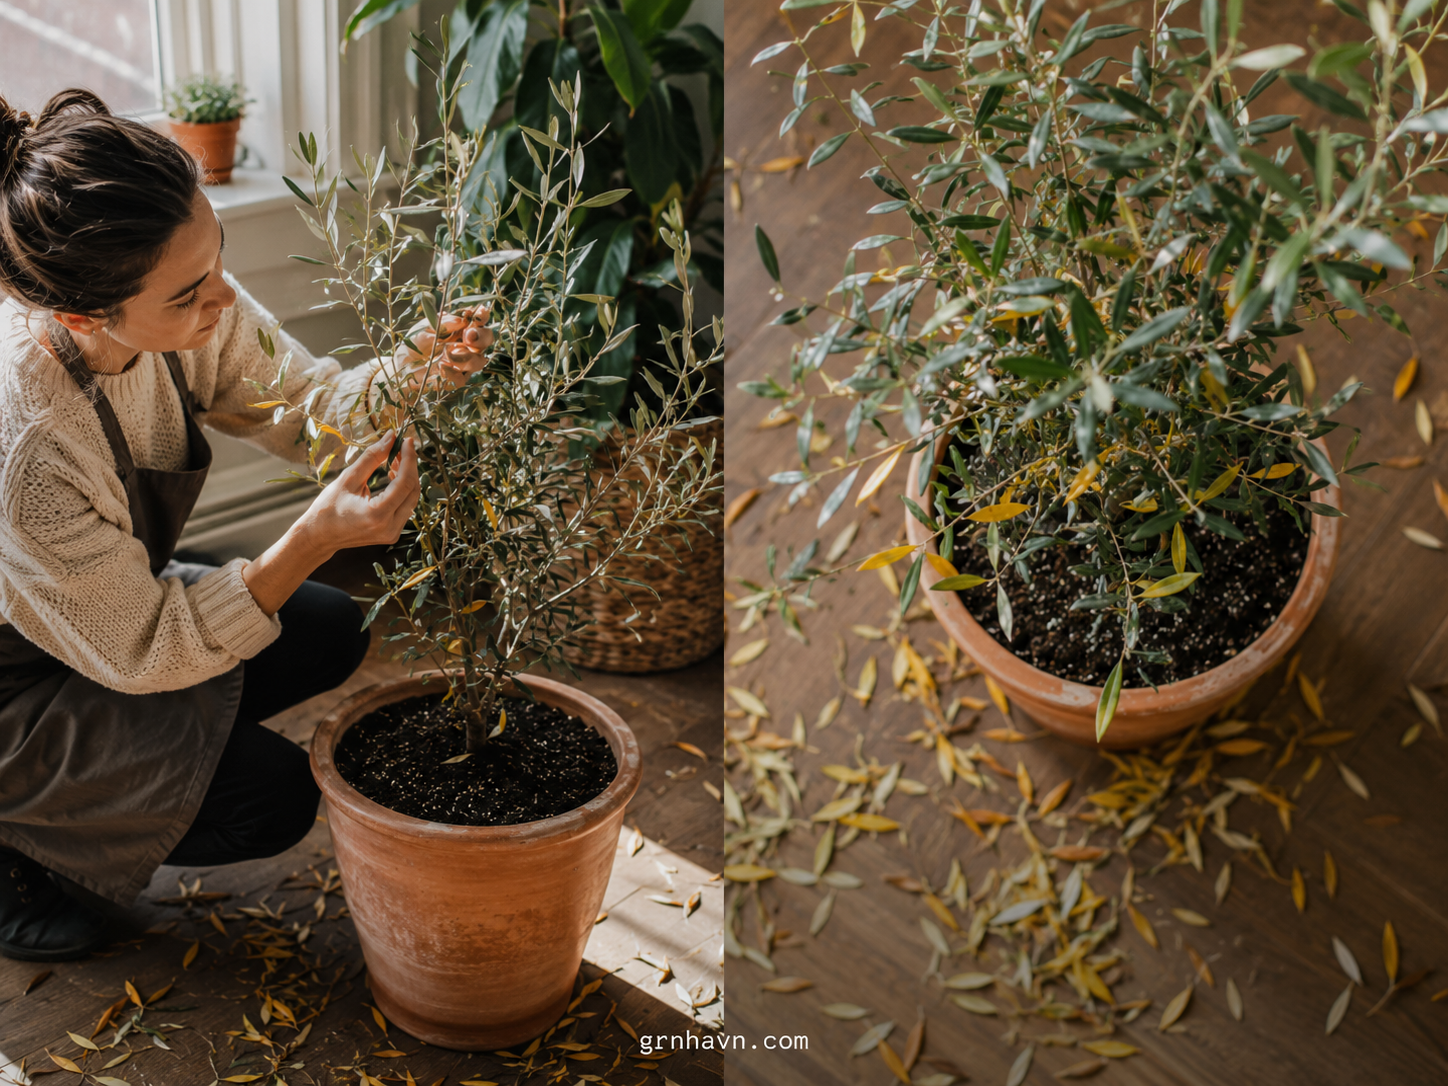
Olive Tree Leaves Turning Yellow, Brown or Falling? Read This First
Olive tree leaves are the quickest “problem identifier.” Yellowing, browning, and falling usually point to light, water, or nutrients— but the order matters. Fix water-drainage first, then increase light, then check fertilizer/pests.
“When you read the leaf, you don’t guess—you guide.”
If leaves turn yellow, it’s often overwatering or inconsistent watering. If leaves turn brown and dry, it can be dehydration or dry-air stress. Curled leaves can indicate insects/dryness. Leaf drop is frequently a “response” to changing conditions.
If you see black spots, think about leaf issues that may include stress or other problems. But before you treat anything aggressively, stabilize the basics. Bright light + proper drainage + correct watering is your foundation.
Olive Tree Branches Drying or Breaking? Causes, Pruning & Recovery
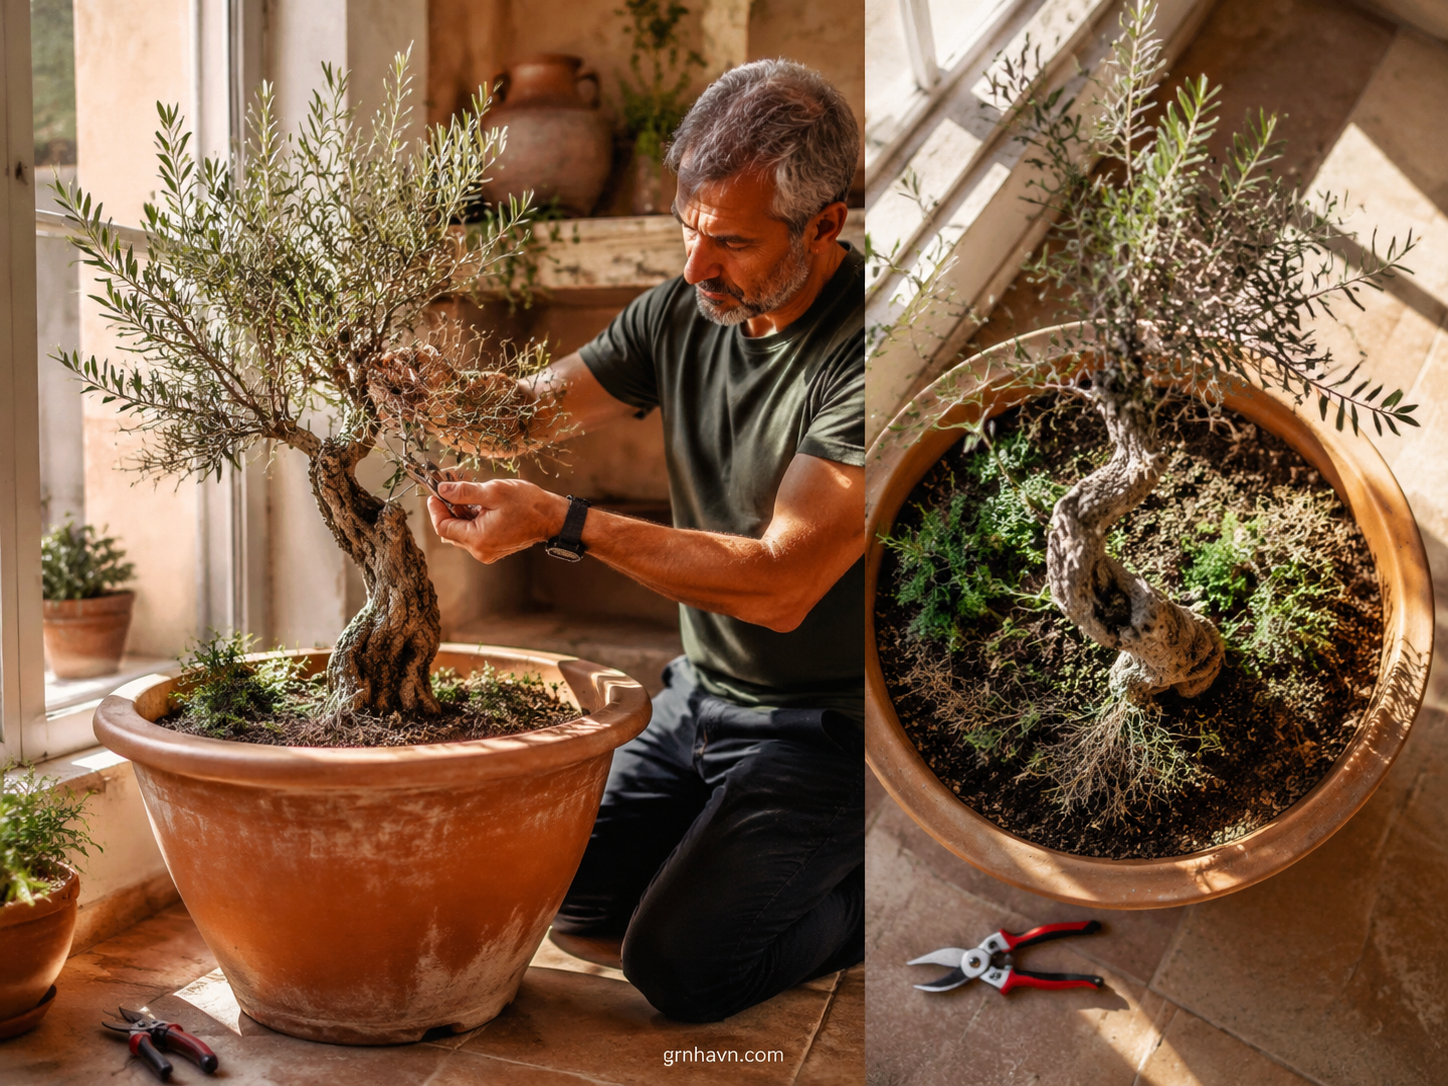
When olive tree branches dry out or break, it’s usually a combination of root stress, water-light imbalance, or prior damage. The good news? Recovery is often possible with consistent care—proper watering, the right light, and pruning that’s honest and minimal.
“Pruning isn’t punishment. It’s how we tell the plant where to spend energy.”
If a branch breaks, cut back cleanly—don’t leave injured parts to drain energy. If new branches don’t grow, check your routine: water only when dry, keep bright light, and avoid sudden temperature swings.
Over-pruning can damage the tree by removing too much leaf surface at once. If you suspect insects/fungus on branches, improve airflow, and address the source: excess moisture. Weak branches often need better support through the pot’s stability and consistent watering.
Fake Olive Tree Indoor: How to Choose the Right Size & Keep It Looking Real
Let’s be kind to ourselves—fake olive tree indoor is a legitimate style choice. But realism comes from details, not just “buying something green.” The best-looking faux trees are the ones that match your space scale.
“Realism is proportions + light, not perfection.”
If your fake tree looks dirty quickly, it’s usually dust accumulation and slightly wrong lighting. Clean gently with a soft cloth/brush, and avoid harsh direct sun that can fade the finish.
Choose size based on your room’s visual flow: too small looks toy-like, too big overwhelms the space. Place it as a focal point—near a console, in a corner with soft light, or where you’d naturally place a real tree.
Faux Olive Tree: How to Make It Look Realistic (Pot,Light & Angle Tips)
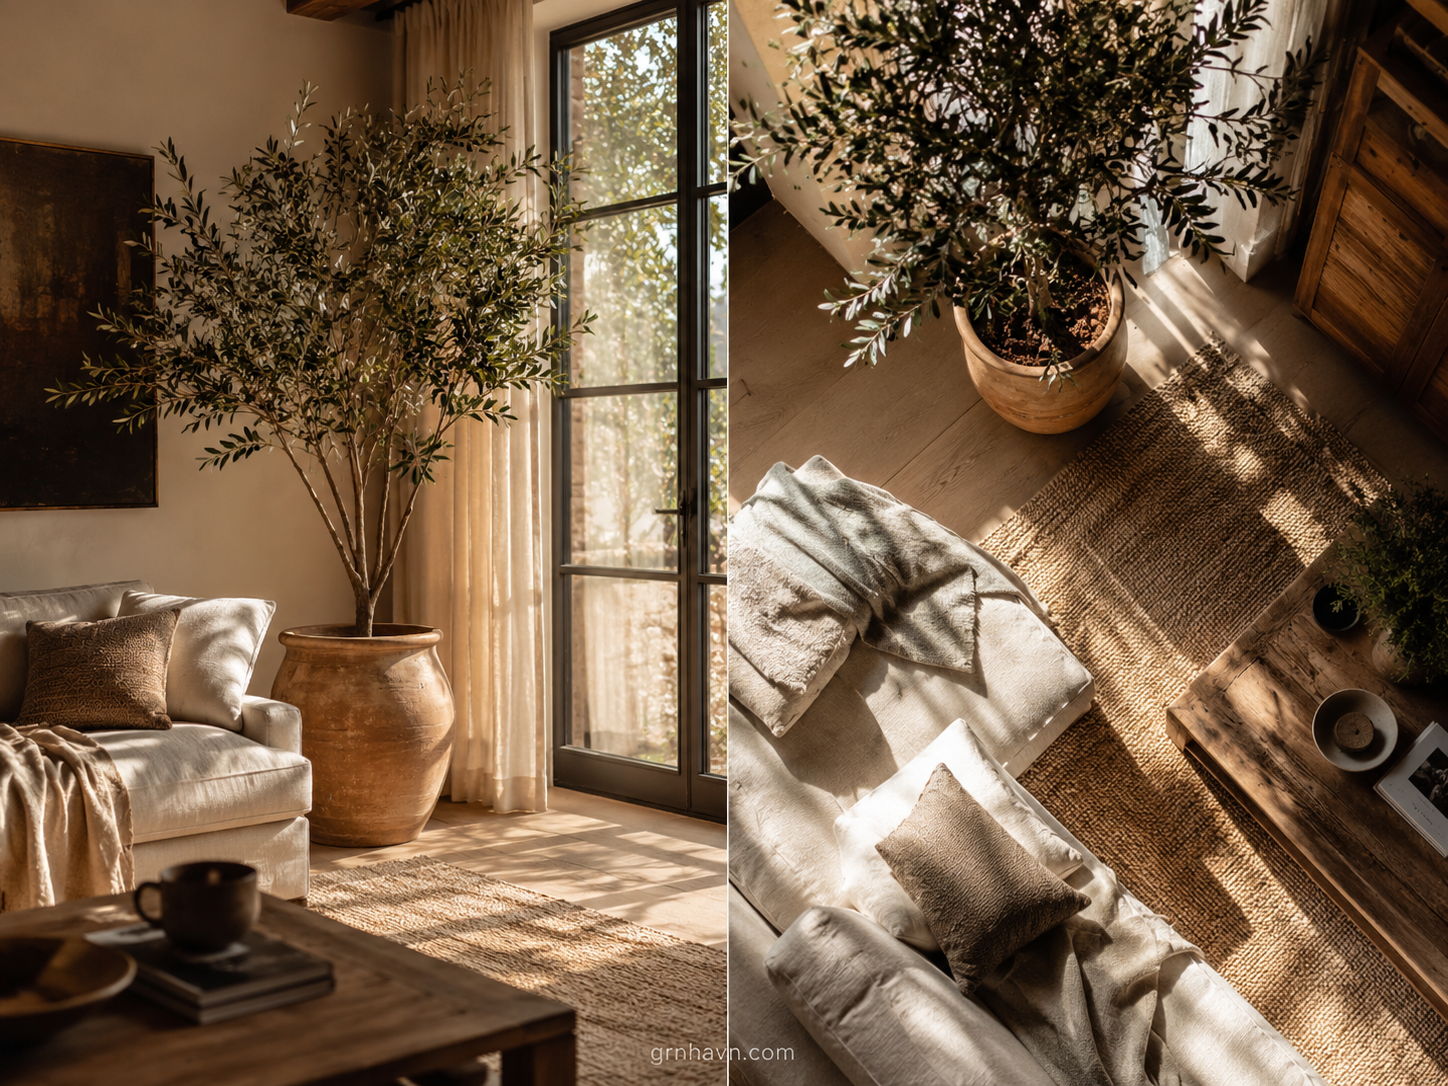
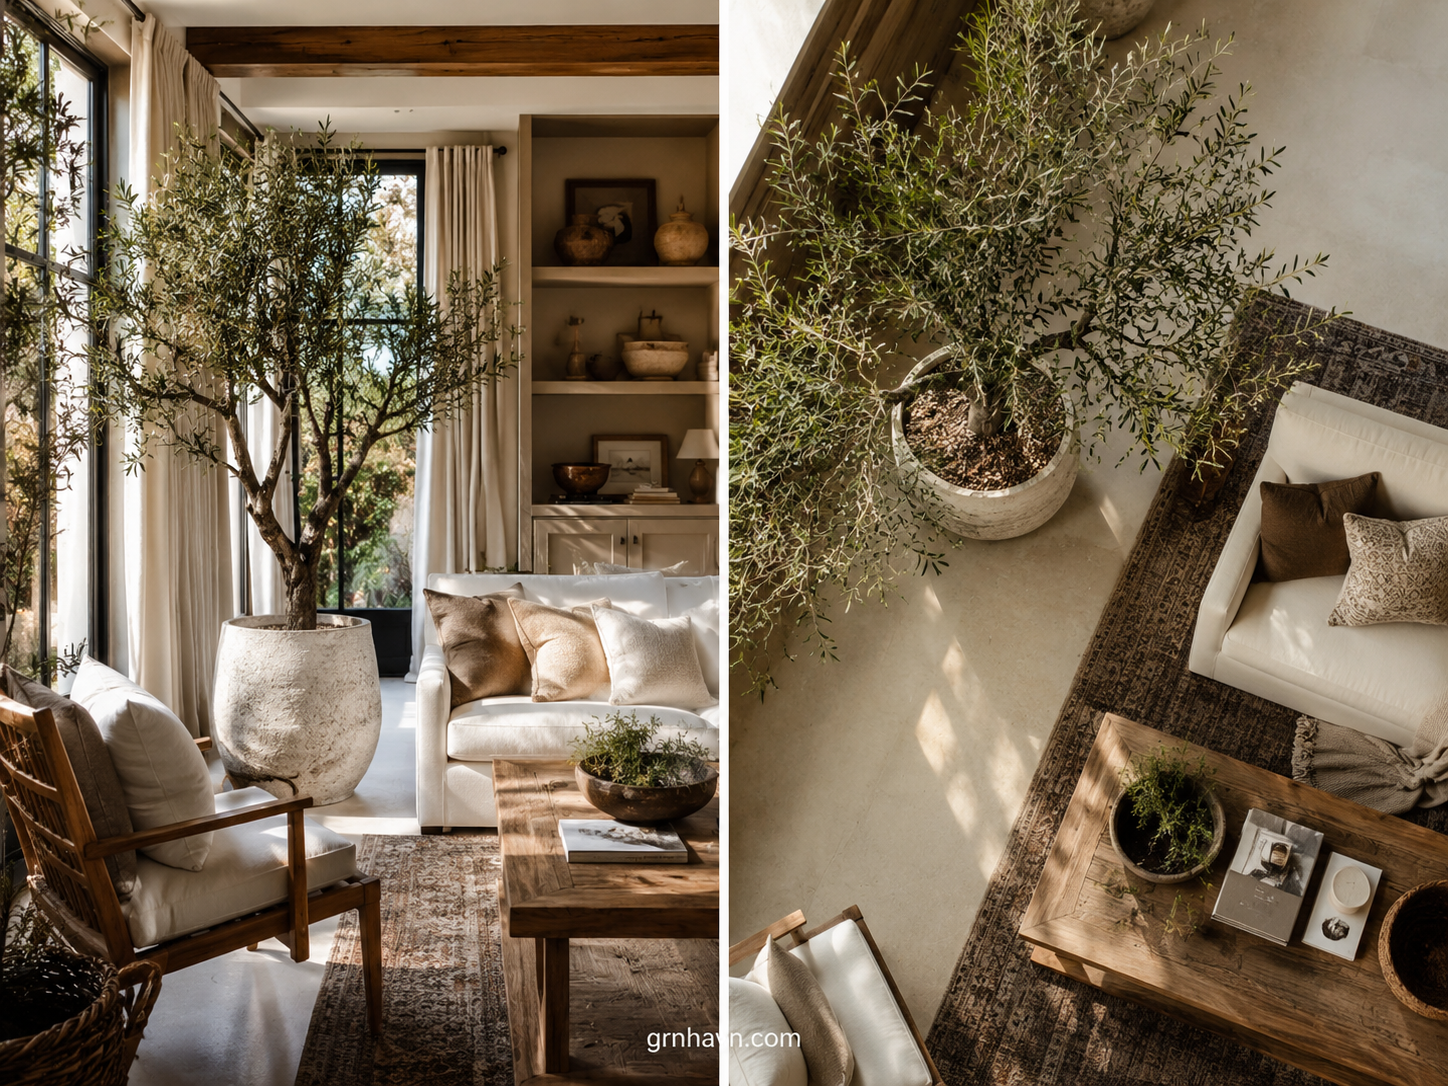
If you want your faux olive tree to look believable, remember the formula: Pot + Lighting + Angle. When those three are right, the eye stops questioning.
“A realistic faux tree is a staged scene—softly lit, lovingly angled.”
The most important part is often the pot look. A cheap pot makes a good tree look fake. Then add gentle, soft angled light so shadows fall naturally. If your tree is front-facing and flat, it will look staged. Angle it slightly so branches feel like they have depth.
For cleaning: use a soft brush or microfiber cloth. If you find stains, spot-clean carefully and let it dry fully. For best rooms: entryways, living rooms, and office corners where you want calm “green presence” without maintenance.
Pottery Barn Faux Potted Olive Tree: Size Guide, Styling Tips & How to Keep It Fresh
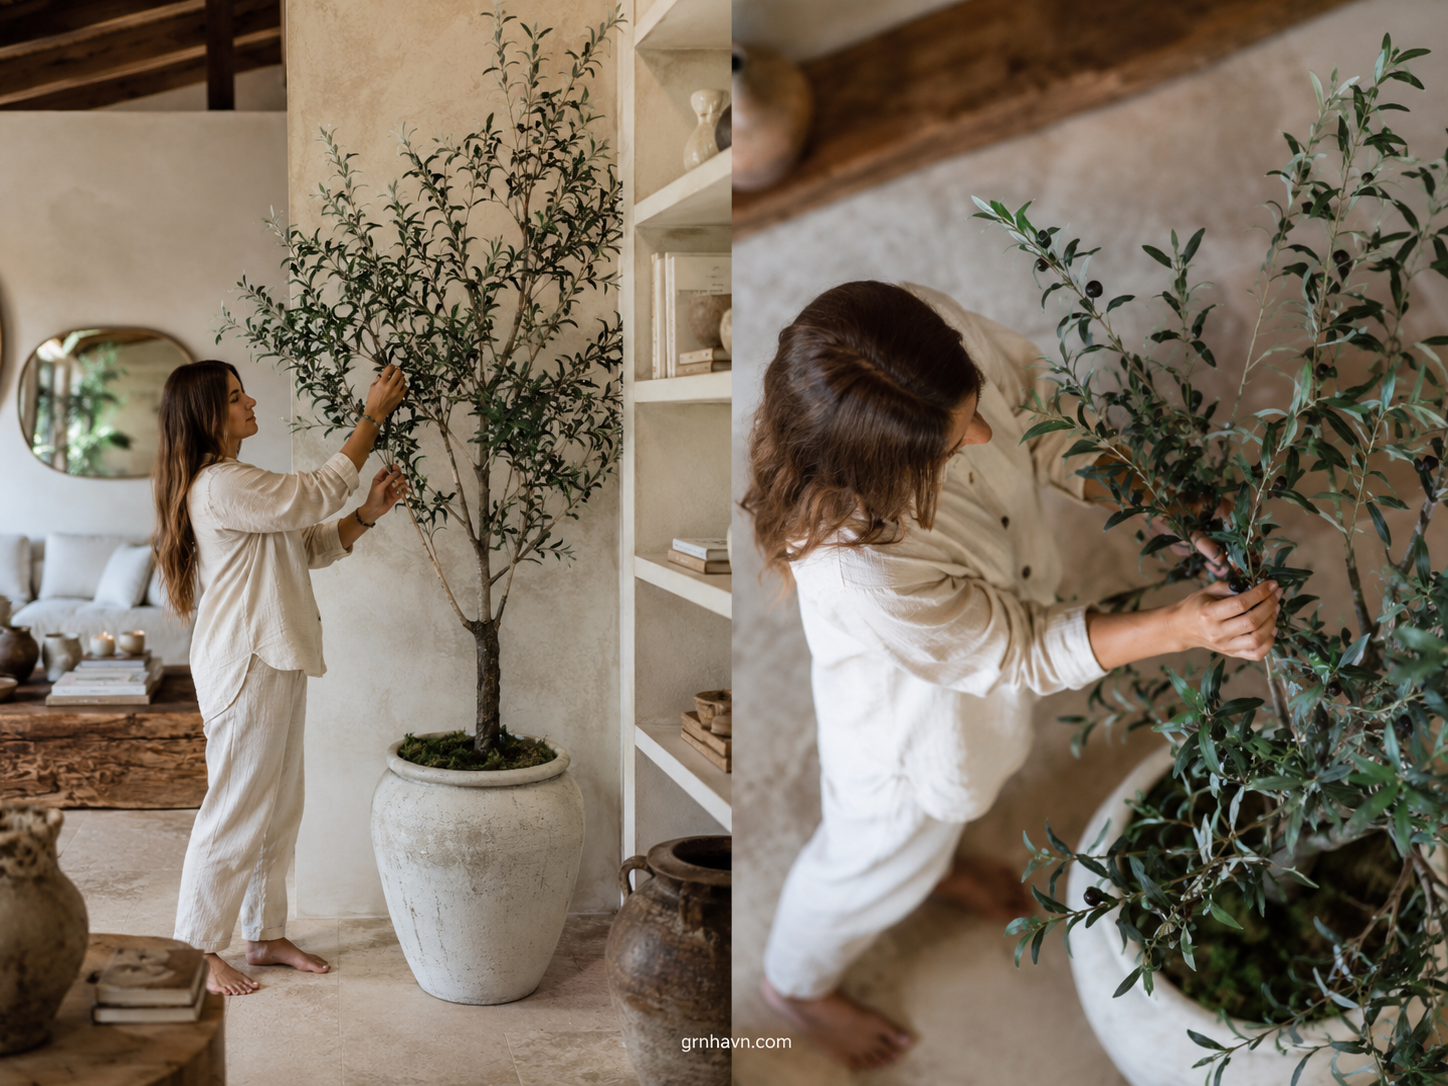
The charm of a Pottery Barn Faux Potted Olive Tree style is the ready-look. It can feel premium quickly— if you get the “room fit” right.
“Let it be the focal point—then let your decor whisper around it.”
When choosing size, think in “visual weight.” If your room has tall ceilings and wide furniture, a larger presence looks luxurious. If your room is smaller, go proportionate—otherwise it looks crowded. Also match pot color to your palette so the look feels intentional.
To keep it fresh: dust the leaves regularly and wipe the pot if needed to avoid dull stains. If it doesn’t look natural in your setup, it’s usually size/color mismatch or placement in a low-visibility area (lighting is everything).
You can often find faux olive-style decor (including Pottery Barn–inspired looks) locally at your nearby home improvement store, garden center, or even select grocery/hardware shops—especially during spring decor season. A practical tip: bring a small measuring tape and confirm scale—compare the tree height to your console or corner height before you commit.
Another easy option is browsing local markets, thrift/second-hand stores, nursery shops, or Facebook Marketplace for gently used décor—just check that leaves aren’t overly flattened and that the pot looks stable. You may also want supporting items like decorative stones, a matching plant stand, or a soft-cleaning brush to keep it looking polished.
Want the fastest route? Use Amazon for a curated comparison and availability. For the best “hassle-free” choice, compare pot color, height (in inches / cm), and leaf texture, then pick the one that matches your room lighting.
What Not to Do (and the Final Printable Checklist)
What NOT to do: don’t overwater “because it looks dry,” don’t prune late just to feel productive, and don’t place your olive tree in a bright-corner claim without checking drafts and drainage.
Printable checklist: use this as your calm reset whenever you’re not sure what’s happening. Then print using your browser.
- Light: brightest window; rotate weekly (draft-free).
- Water: only when soil is fully dry; soak & drain; never water shallow.
- Drainage: drainage holes + no pooled saucer water.
- Fertilizer: growth season only; start low to avoid burn.
- Fungus/mold: dry the root zone + improve airflow.
- New plants: fixed location for 7–14 days; increase light gradually.
- Faux styling: correct size; pot looks premium; soft angled light; dust regularly.
FAQ: The Most Common Indoor Olive + Faux Olive Questions
1) Why does olive tree indoor start to get spots/drop leaves?
2) What is the most common mistake in Olive Tree Care?
3) How much light does indoor olive tree need before it causes trouble?
4) Why does dwarf olive tree grow slowly?
5) Why does a new small olive tree drop leaves?
6) What happens if you overwater a potted olive tree?
7) Why does over-fertilizing olive tree fertilizer cause problems?
8) Why does an olive tree plant weaken quickly when brought indoors?
9) Why do olive tree leaves turn yellow?
10) Why does a olive tree branch dry out?
11) Why does fake olive tree indoor look dirty/less beautiful quickly?
12) How to make a faux olive tree look more realistic?
13) Why doesn’t the Pottery Barn-style faux potted olive tree look natural in some setups?
Final verdict: you’re one adjustment away from that olive “settled” feeling
If your indoor olive tree has been dropping leaves, don’t treat it like a mystery you have to solve alone. Treat it like a conversation: fix light first, then water timing, then drainage. That’s the pattern I’ve seen again and again— from the first-time plant parent who overwatered “out of love,” to the careful hobbyist who finally stopped watering on autopilot. And if you’re going the faux route, you’ll get the same calm result: realistic look comes from the right proportions, soft angled light, and a pot that looks intentional. Your home deserves a green presence that feels warm, not stressful.